迫于需要使用 Joplin 开源笔记同步功能,所以自己搭一个 WebDav 服务
Simple Go WebDAV server
下载到指定目录
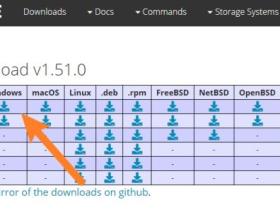
wget https://github.com/hacdias/webdav/releases/download/v4.0.0/linux-amd64-webdav.tar.gz
tar -xvzf linux-amd64-webdav.tar.gz
mv webdav /usr/bin/webdav
rm -rf linux-amd64-webdav.tar.gz
创建 WebDAV 目录
mkdir -p /joplin/webdav
配置文件
vi webdav.yaml
# Server related settings
address: 0.0.0.0
port: 6666
auth: true
tls: false
cert: cert.pem
key: key.pem
prefix: /

# Default user settings (will be merged)
scope: .
modify: true
rules: []

# CORS configuration
cors:
  enabled: true
  credentials: true
  allowed_headers:
    - Depth
  allowed_hosts:
    - http://localhost:6666
  allowed_methods:
    - GET
  exposed_headers:
    - Content-Length
    - Content-Range

users:
  - username: admin
    password: admin
    scope: /joplin/webdav/
这里设置的端口是 6666,账号密码均为 admin,WebDAV 目录是 /joplin/webdav/ 可自行更改
创建 Systemd 自启服务
vi /usr/lib/systemd/system/webdav.service
[Unit]
Description=WebDAV server
After=network.target

[Service]
Type=simple
User=root
ExecStart=/usr/bin/webdav --config /root/webdav.yaml
Restart=on-failure

[Install]
WantedBy=multi-user.target
管理命令
systemctl daemon-reload
systemctl start webdav
systemctl enable webdav
systemctl status webdav

LuckTang's Blog 站长语录
LuckTang's Blog,欢迎各位来访!这是我的QQ,扫一扫,加好友。大家一起交流博客建站技术,分享前沿资讯!





评论